


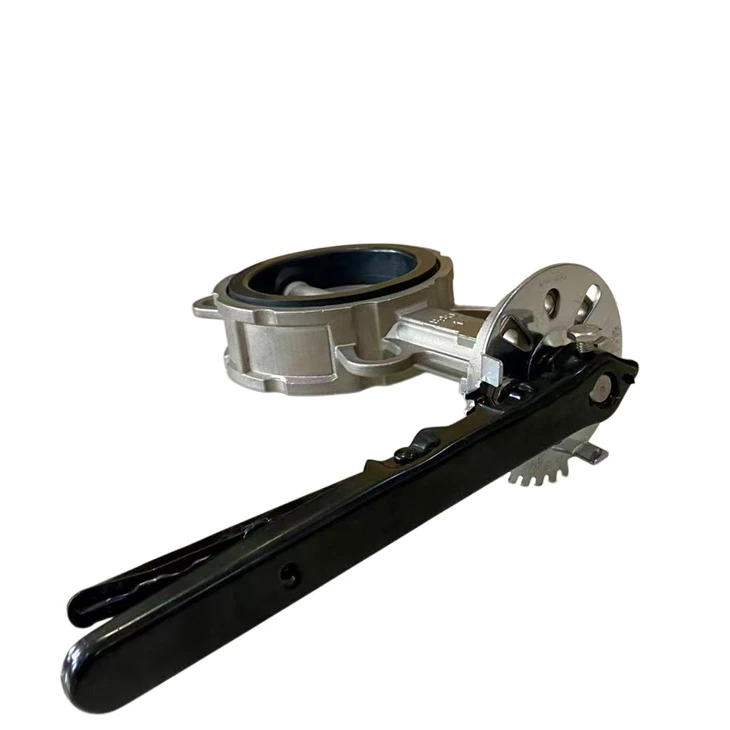
Hey there! As a supplier of CS Pneumatic Wafer Valves, I've seen my fair share of issues, and one of the most common ones is valve leakage. It can be a real pain in the neck, but don't worry – I'm here to walk you through how to handle a CS Pneumatic Wafer Valve that's leaking.

First Things First: Identify the Leak
The first step in fixing any problem is to figure out what's causing it. When it comes to a leaking CS Pneumatic Wafer Valve, there are a few places you should check.
- Valve Body: Start by looking at the valve body itself. Check for any visible cracks or damage. Sometimes, the valve can get banged around during installation or use, and that can lead to small cracks that let fluid or gas escape.
- Sealing Surfaces: The sealing surfaces between the valve disc and the seat are crucial. If these surfaces are dirty, worn, or damaged, it can cause a leak. Look for signs of corrosion, scratches, or debris on these surfaces.
- Gaskets and Seals: Gaskets and seals are used to prevent leaks between different parts of the valve. Over time, these can wear out, dry up, or get damaged. Check the gaskets around the valve body and any connections to make sure they're in good condition.
Tools You'll Need
Before you start working on the valve, gather the necessary tools. Here's a basic list:
- Wrenches: You'll need a set of wrenches to loosen and tighten bolts and nuts. Make sure you have the right sizes for your valve.
- Screwdrivers: Depending on the valve design, you may need a flathead or Phillips screwdriver to remove covers or access certain parts.
- Cleaning Supplies: A clean cloth, some mild detergent, and a brush can be used to clean the valve and its components.
- Replacement Parts: If you find that a gasket, seal, or other part is damaged, you'll need to have the replacement parts on hand. You can find Polishing Treatment Butterfly Valve, Mirror Treatment Butterfly Valve and other related parts on our website.
Step-by-Step Fixing Process
Step 1: Shut Off the Flow
This is a no-brainer, but it's important. Before you start working on the valve, shut off the flow of fluid or gas to the valve. This will prevent any further leakage and keep you safe while you're working.
Step 2: Remove the Valve
If possible, remove the valve from the pipeline. This will give you more room to work and make it easier to inspect and repair the valve. Use your wrenches to loosen the bolts that hold the valve in place.
Step 3: Disassemble the Valve
Carefully disassemble the valve, taking note of how each part is arranged. This will make it easier to put the valve back together later. Keep all the parts organized so you don't lose anything.
Step 4: Clean the Valve
Once the valve is disassembled, clean all the parts thoroughly. Use your cleaning supplies to remove any dirt, debris, or corrosion. Pay special attention to the sealing surfaces and the gaskets.
Step 5: Inspect the Parts
After cleaning, inspect each part carefully. Look for any signs of damage or wear. If you find a damaged part, replace it with a new one. You can choose from a variety of Butterfly Valve Stainless Steel Cf3m 316L and other high-quality replacement parts.
Step 6: Reassemble the Valve
Once you've inspected and replaced any damaged parts, it's time to put the valve back together. Make sure you reassemble the parts in the correct order and tighten all the bolts and nuts to the proper torque.
Step 7: Install the Valve
After reassembling the valve, install it back into the pipeline. Make sure the valve is properly aligned and tightened.
Step 8: Test the Valve
Once the valve is installed, turn the flow back on and test the valve for leaks. Check all the connections and the valve body for any signs of leakage. If you still notice a leak, go back and double-check your work.
Preventive Maintenance
To avoid future leaks, it's important to perform regular preventive maintenance on your CS Pneumatic Wafer Valves. Here are some tips:
- Regular Inspections: Schedule regular inspections of your valves to catch any potential problems early. Look for signs of wear, corrosion, or damage.
- Cleaning: Keep your valves clean by regularly wiping them down and removing any dirt or debris.
- Lubrication: Some valves may require lubrication to keep them operating smoothly. Follow the manufacturer's recommendations for lubrication.
- Replacement of Wear Parts: Over time, gaskets, seals, and other wear parts will need to be replaced. Keep a supply of these parts on hand and replace them as needed.
Contact Us for More Information
If you're still having trouble with a leaking CS Pneumatic Wafer Valve or if you have any questions about our products, don't hesitate to reach out. We're here to help you find the best solutions for your valve needs. Whether you're looking for Stainless Steel Wafer Butterfly Valve or other related products, we've got you covered.
References
- Valve Maintenance Handbook, various industry publications
- Manufacturer's manuals for CS Pneumatic Wafer Valves


