


Inspecting a non-rising valve before installation is a crucial step to ensure its proper functioning and longevity. As a Non Rising Valve supplier, I understand the significance of this process and am here to guide you through the essential steps. In this blog, I will share valuable insights on how to conduct a thorough inspection of a non-rising valve before it is installed.
Understanding Non Rising Valves
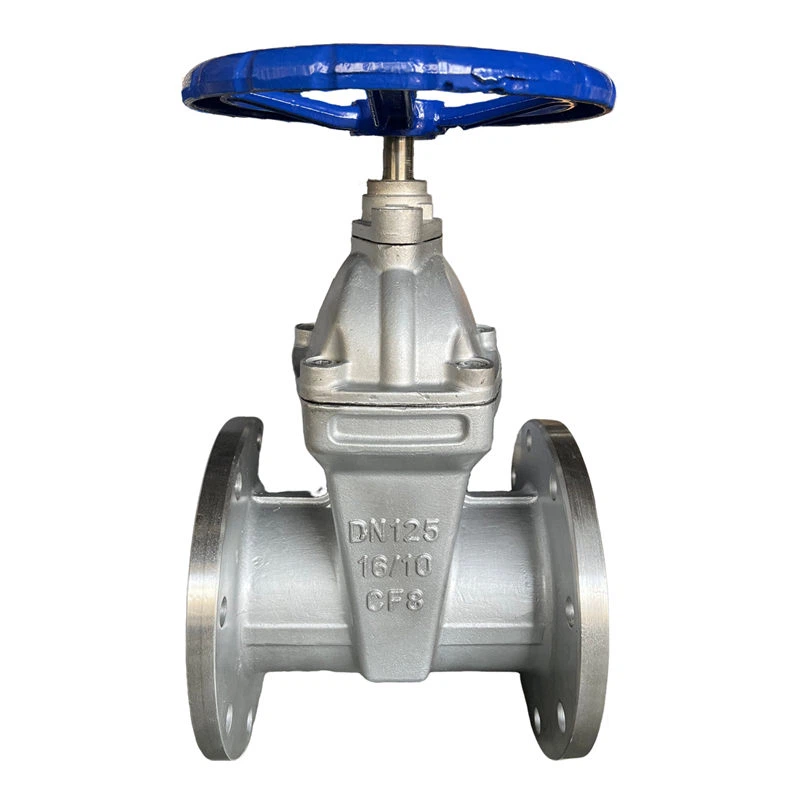
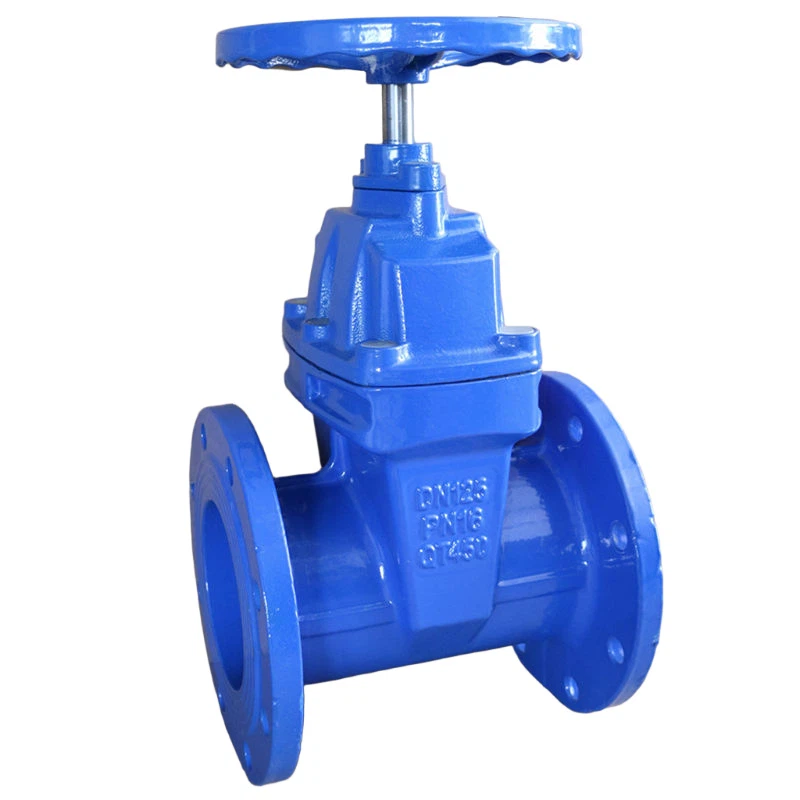
Before diving into the inspection process, it's important to have a clear understanding of what a non-rising valve is. A Non Rising Valve is a type of gate valve where the stem does not rise when the valve is opened or closed. Instead, the stem rotates within the valve body, and the gate moves up and down along the stem threads. This design makes non-rising valves suitable for applications where vertical space is limited, such as in underground pipelines or valve boxes.
Visual Inspection
The first step in inspecting a non-rising valve is to conduct a visual inspection. Start by examining the valve body for any signs of damage, such as cracks, dents, or corrosion. Check the flanges and connections for proper alignment and ensure that the bolts and nuts are tightened securely. Look for any signs of leakage around the valve packing or gland.
Inspect the valve stem for straightness and smoothness. Check for any signs of wear or damage, such as scratches or galling. The stem should rotate freely without any binding or excessive play. Examine the handwheel or actuator for proper operation and ensure that it is securely attached to the stem.
Dimensional Inspection
Next, perform a dimensional inspection of the non-rising valve. Check the valve size and dimensions against the specifications provided by the manufacturer. Ensure that the valve has the correct flange rating and bolt hole pattern for the intended application. Measure the length, width, and height of the valve to ensure that it will fit properly in the pipeline.
Inspect the valve gate for proper seating and alignment. The gate should fit snugly within the valve body and should not have any gaps or misalignments. Check the gate for any signs of damage or wear, such as erosion or pitting.
Pressure Testing
Pressure testing is an important step in inspecting a non-rising valve. This test helps to ensure that the valve can withstand the operating pressure and temperature conditions of the pipeline. There are two main types of pressure tests: hydrostatic testing and pneumatic testing.
Hydrostatic testing involves filling the valve with water and applying a specified pressure for a certain period of time. This test helps to detect any leaks or weaknesses in the valve body, gate, or seals. Pneumatic testing, on the other hand, involves using compressed air or gas to test the valve. This test is typically used for valves that are not suitable for hydrostatic testing, such as valves that are installed in high-temperature or hazardous environments.
When performing a pressure test, it's important to follow the manufacturer's instructions and safety guidelines. Use a calibrated pressure gauge to monitor the pressure and ensure that it does not exceed the maximum allowable pressure for the valve. If any leaks or abnormalities are detected during the pressure test, the valve should be repaired or replaced before installation.
Material Inspection
In addition to the visual, dimensional, and pressure tests, it's also important to inspect the materials used in the non-rising valve. Check the valve body, gate, stem, and other components for the correct material grade and quality. Ensure that the materials are compatible with the fluid or gas that will be flowing through the valve.
Inspect the valve packing and seals for proper material selection and installation. The packing and seals should be made of materials that are resistant to the fluid or gas being handled and should be installed correctly to prevent leakage.
Documentation Review
Before installing the non-rising valve, review the documentation provided by the manufacturer. This includes the valve datasheet, installation instructions, maintenance manual, and test reports. Ensure that the valve has been tested and certified to meet the relevant industry standards and specifications.
Check the documentation for any special instructions or requirements for the installation, operation, and maintenance of the valve. Follow these instructions carefully to ensure the proper functioning and longevity of the valve.
Conclusion
Inspecting a non-rising valve before installation is a critical step to ensure its proper functioning and reliability. By following the steps outlined in this blog, you can conduct a thorough inspection of the valve and identify any potential issues or problems before they cause costly downtime or damage to the pipeline.
As a Gate Valve Non Rising supplier, I am committed to providing high-quality valves and excellent customer service. If you have any questions or need further assistance with inspecting or installing a non-rising valve, please don't hesitate to contact me. I would be happy to help you with your valve needs and ensure that you get the best possible product for your application.
References
- Valve Handbook, 4th Edition, by Robert W. Kister
- ASME B16.34 - Valves - Flanged, Threaded, and Welding End
- API 600 - Steel Gate Valves - Flanged and Butt - Welding Ends, Bolted Bonnet


